How To Set Up A Hookah Foil Head
13th Oct 2023
Hey there #FumariFam! When was the last time you set up a foil hookah bowl? Was it everything you dreamed of? If not, you’re in the right place. Setting up a traditional hookah foiled bowl is an art form that the HMD has made a thing of the past for many hookah users. We’re here today to give some love back to this classic hookah preparation and show you what you’re missing. What the video below, or keep reading!
First off, pick the tobacco and bowl of your choice. In today’s example we are using Fumari Razzberry Bliss and the Fumari Standard Phunnel Bowl.
Now, pack it up just how you normally would but pay extra attention to the height of your leaves. You really want to make sure you have everything below the rim as your goal here is to cook through your bowl section by section rather than all at once.
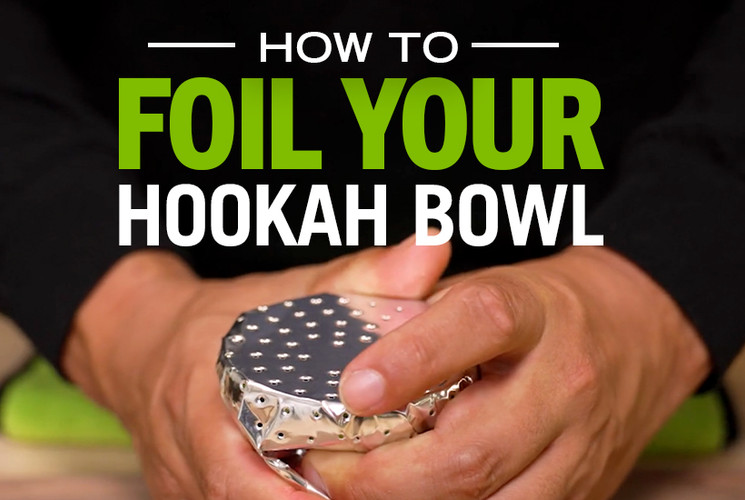
With your leaves at the perfect level, add some Fumari Pre-poked Foil on top by stretching the foil out as flat as you can and applying it to the whole rim of your bowl at once. If you don’t have Fumari Foil – get some – but we won’t judge if you use two layers of regular foil either.
After you have applied the foil to the rim, you should notice that it is not quite tight yet and may even have some sags or sharp bends around the rim. To fix this, apply pressure to one side of the foil and rim while stretching and tightening little by little to the opposite side. Eventually you will have each side of the foil drum tight.
In the case of you having to poke your own holes we standby the hole punch size of the Fumari Poker. However, you can use any household item like a toothpick, thumbtack, or paperclip. Whichever tool you decide to use here, the holes should be wide enough to let heat in, but not scorch the leaves. Focus on spacing the holes out as too many holes may cause your bowl to burn; however, too few holes and you may run the risk of extinguishing your charcoal due to lack of airflow. Make sure you are applying pressure to as much of the foil as you can since poking a hole will naturally cause the foil to want to bend in around it. Keeping the foil as drum tight as possible while punching holes will make all the difference when adding your coals later.
After you have applied the foil and poked the holes, try to give the foil and final big as tight as you can to the outside of the bowl again while securing the excess to the bottom of the bowl’s basin. This will give an extra point of heat contact and warm the bowl from all sides, thus locking in the heat.
Now that you have a perfectly setup foiled hookah head, the only thing left to do is add your charcoal! This last step is crucial to starting your bowl off with foil as charcoal and the airflow created when you take a puff cause the foil to sag. Place them gently on opposite sides of the bowl and inhale naturally rather than at full force. This placement will reduce your charcoal bouncing around and help balance the weight each piece adds to the foil.
Thank you for joining us! Be sure to check out our other tutorials on the blog and if you have any questions or suggestions for what you would like to see us go over next shoot us an email. Thank you for tuning in and follow us on Instagram (@fumari) to never miss an update!

